Eggcellent Marshmallow Easter Eggs

April 21, 2019Smile Cafe

Prep time: 30 minutes

Cook time: 1 hour

Serves: 36 Marshmallow eggs

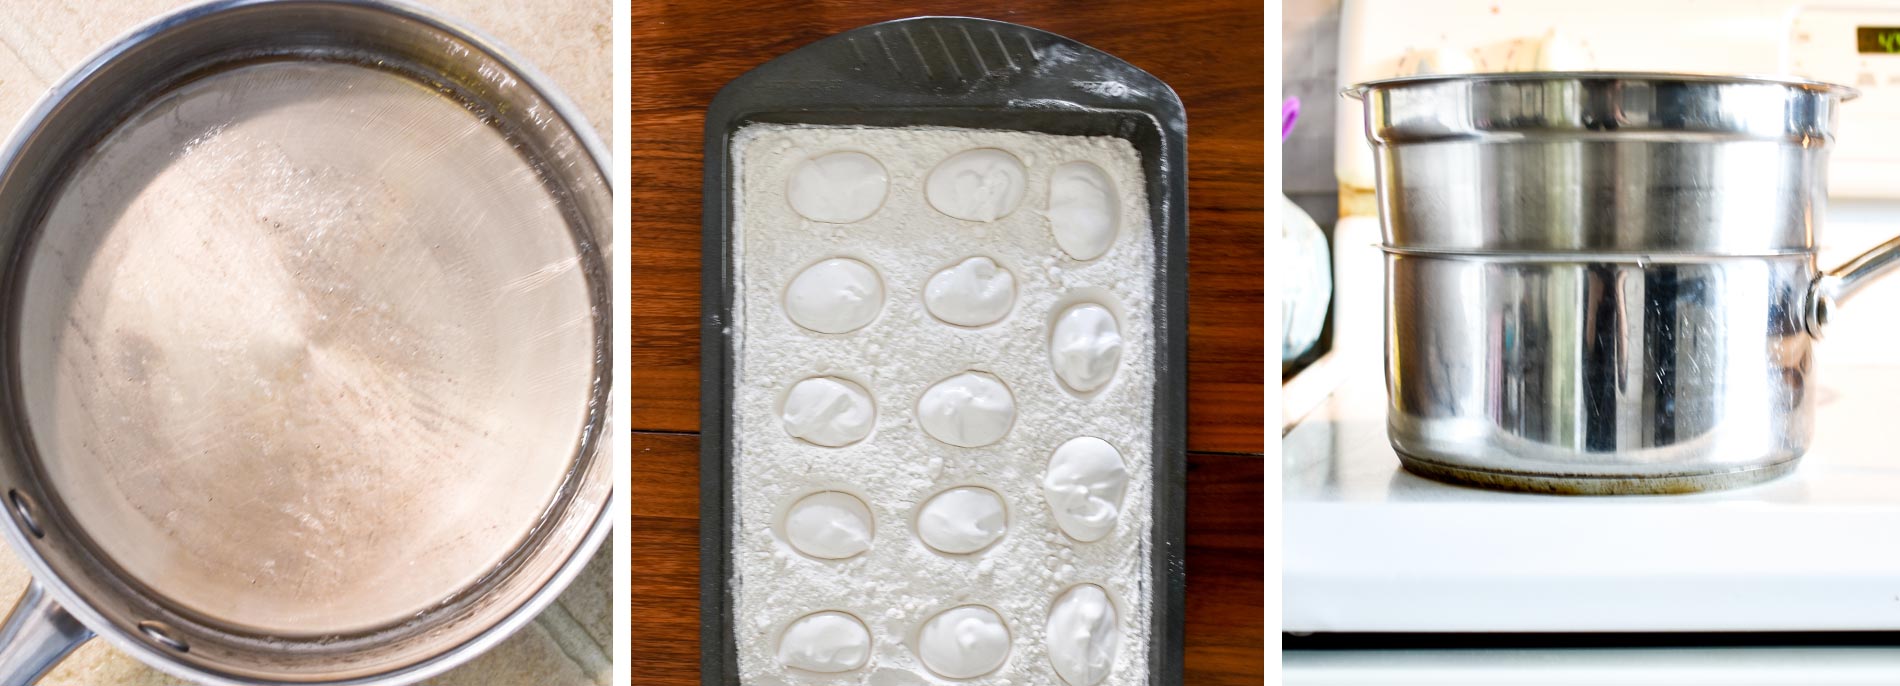
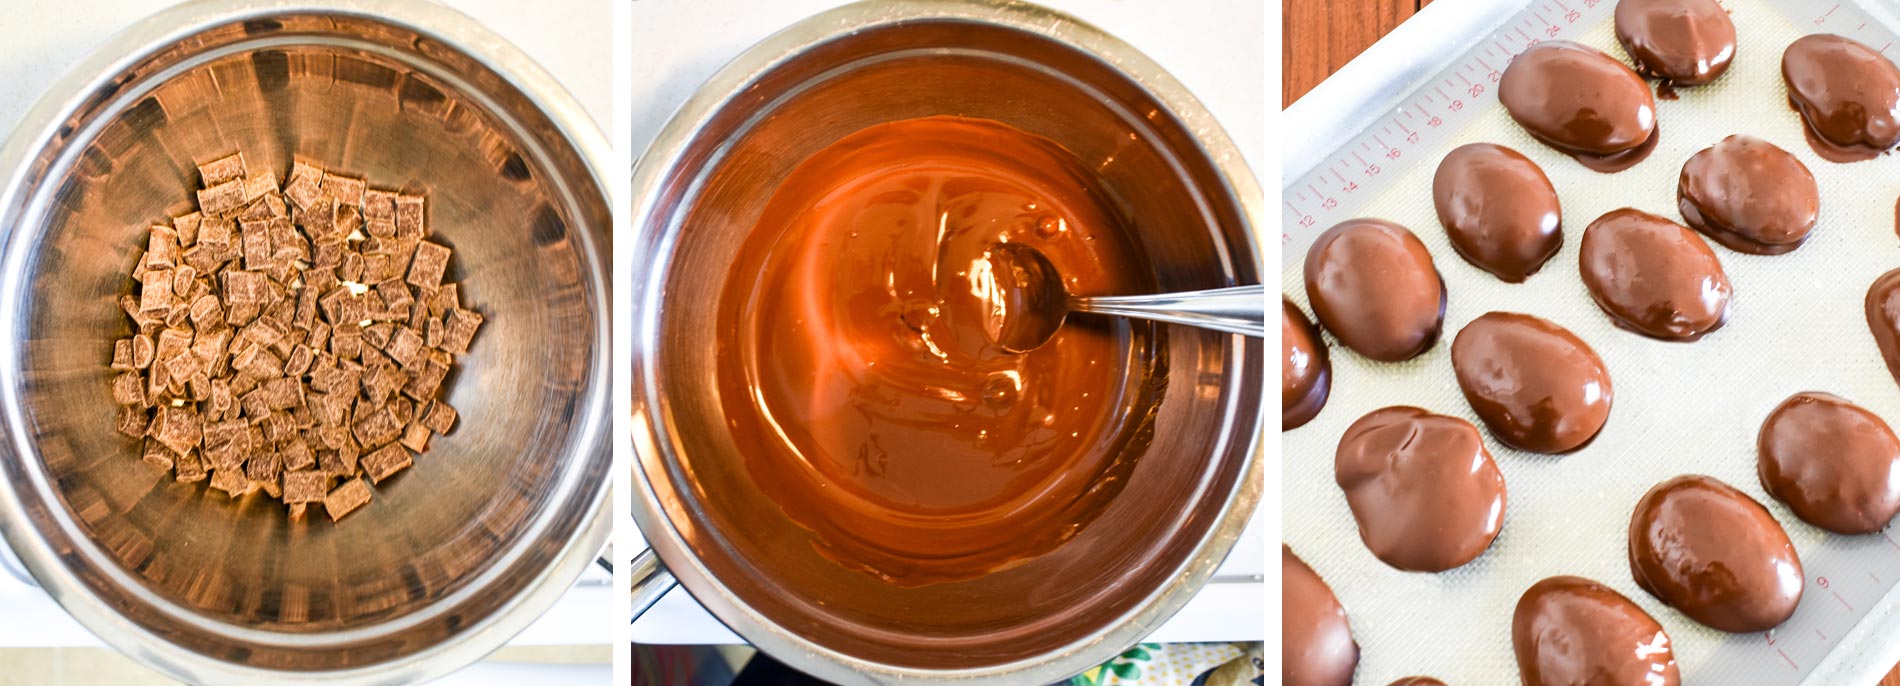
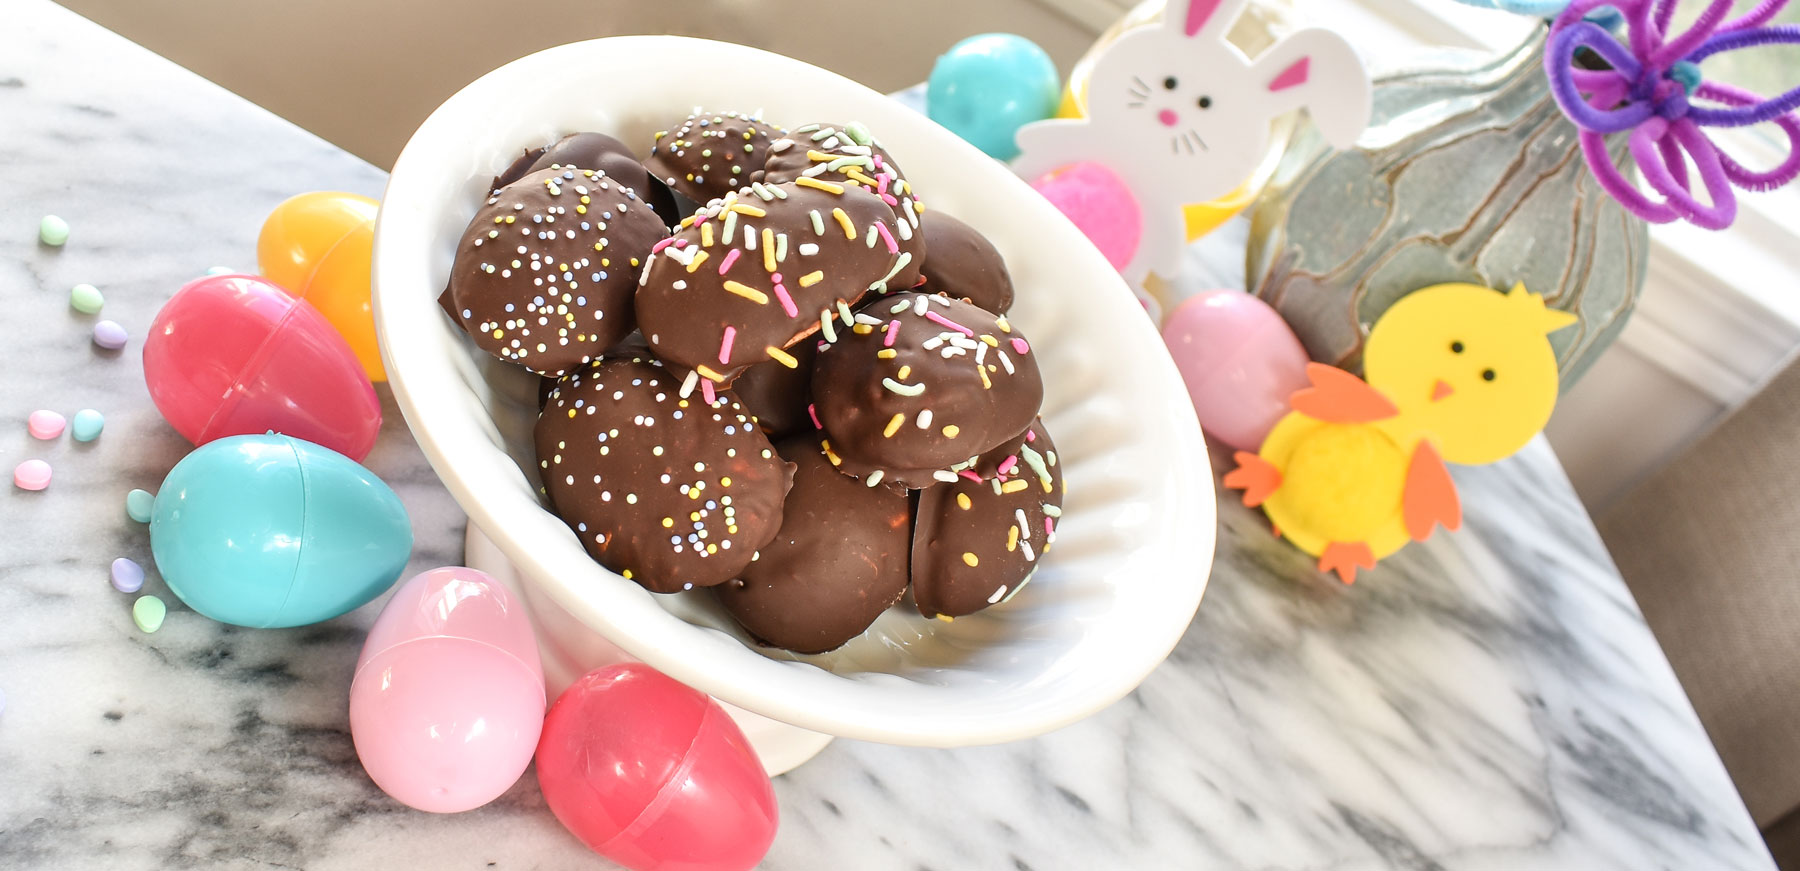
These delightful marshmallow eggs are a real holiday treat for the kids. Delivering on all fronts, they’re allergy friendly and beyond fun to share and eat. They start with a super fluffy homemade marshmallow. Then they’re dipped in dairy-free chocolate. Lastly a dusting of sprinkles just for fun… we dare you to try and stop at just one!

Print Recipe

Eggcellent Marshmallow Easter Eggs

  • Prep time: 30 minutes
  • Cook time: 1 hour
  • Total time: 1 hour 30 minutes
  • Serves: 36 Marshmallow eggs

Ingredients

  • 1/2 cup cold water
  • 3 sachets Knox Gelatin, this is equivalent to 3 tablespoons gelatin
  • 2 cups white sugar
  • 2/3 cup corn syrup
  • 1/4 cup water
  • 1/4 teaspoon salt
  • 1 teaspoon flavour essence, you can use any flavour you like, we like banana, raspberry, watermelon
  • 1 cup dairy-free chocolate chunks, we use Enjoy Life!
  • 5 cups gluten free flour, this is just for the molds, can be reused afterwards

Method

  • 1)

    Combine the 1/2 cup water, with the gelatin in a large mixing bowl, stir together and set aside.

  • 2)

    In a medium saucepan combine the sugar, syrup and 1/4 cup of water and place on medium heat.

  • 3)

    Slowly heat up sugar pot until the sugar is dissolved. Increase heat to high.

  • 4)

    Bring the pot to a steady boil and use a food thermometer to tell when the mixture gets to 241F. This takes around 7-12 minutes. As soon as it reaches 241F immediately remove from the heat.

  • 5)

    Carefully pour the boiling sugar mixture into the gelatin mixing bowl and begin to mix on high, sprinkle in the salt.

  • 6)

    Continue to mix on high for about 12 minutes the mixture should be light fluffy and luke warm. See picture one above.

  • 7)

    Add the flavour essence of your choice to the mixing bowl, and mix through.

  • 8)

    Pour the flour into a high sided baking pan and even out the surface, then press plastic easter eggs half way into the flour to create simple molds.

  • 9)

    Start pouring or spooning the marshmallow mix into each of the flour molds. Warning this can get real messy, so an oily knife to cut-off the mixture pouring from the bowl each time, or oiling spoons if spooning will help it from sticking. See picture two above. Note the warmer the marshmallow is the easier it is to work with, so try not to do this step as quickly as possible.

  • 10)

    Leave the marshmallow to set, should take about 10 minutes.

  • 11)

    Set up a double boiler to get the chocolate melting. Put a small mixing bowl that doesn’t reach the bottom of the pot, on top of the pot. Add a small amount of water to the pot and heat on low. For a smooth not lumpy chocolate consistency we’re aiming to get the chocolate melted on a gentle temperature without getting it wet, or really hot. See picture three above.

  • 12)

    damp parchment paper or silicone sheet. We use two forks to move the marshmallow around in the chocolate See picture six above.

  • 13)

    Once each pan is covered in yummy eggs you can scatter some sprinkles on top, or just place in the fridge to set the chocolate.

  • 14)

    Keep refrigerated until you’re ready to pop the eggs off the sheet to enjoy!

Notes

We experimented with making these eggs a number of times and failed miserably. Being able to ensure your sugar mixture reaches 241F was the clincher. I highly recommend you pick up an inexpensive food thermometer (I got one at Winners), just make sure it goes all the way up to 241F and when you’re taking the measurement with the probe – no touching the bottom of the pot!

Best to keep the eggs in the fridge when you’re not eating them too, to minimize any potential melty chocolate mess.

Leave a comment

Your email address will not be published. Required fields are marked *

Previous Recipe Next Recipe